
Pattern Description:
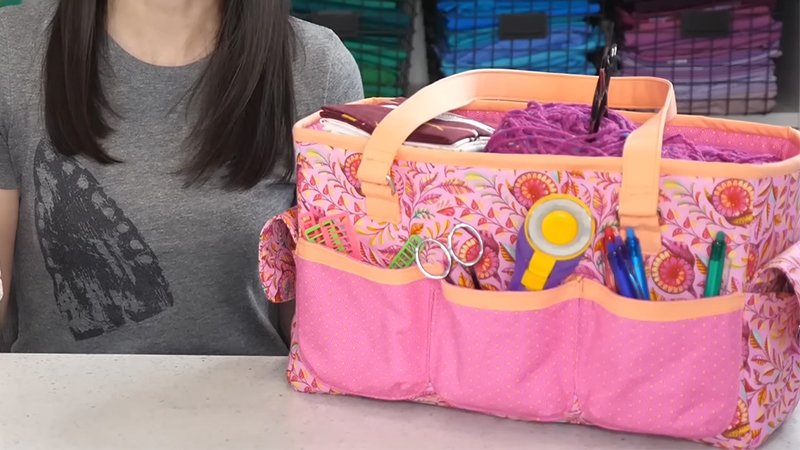
The Oslo Craft Bag is a sturdy, versatile tote featuring multiple compartments, including side and lining pockets plus a central interior divider.
Designed with thick interfacing, it stands upright on its own, making it ideal for crafting supplies, diapers, or everyday essentials.
Its boxy structure, secure handles, and snap closures combine functionality with a polished, professional look.
Materials Needed & Measurements:
Fabrics:
- Exterior: Heavy cotton fabric – 1 yard
- Lining: Coordinating cotton – 1 yard
- Pocket accents: Teal fabric – ½ yard, Purple fabric – ½ yard
Interfacing:
- Very thick fusible interfacing (e.g., Bosal) – 1 yard
Hardware & Notions:
- Snaps: 1 male half, 1 female half per side pocket/flap
- Thread: Heavy-duty or all-purpose matching thread
- Clips or pins, thick sewing needle, 2 bobbins
Tools:
- Scissors: 10-inch and 5.5-inch snips
- Rotary cutter: 60mm and 45mm
- Marking tools: Water-soluble white chalk or erasable marker, ruler
- Pressing: Iron, small hand iron or finger press
- Turn tools: Pokey tool or flamingo bone, optional hemostats
- Snap installation: Anvil, hammer, cardboard for surface protection
Key Measurements & Allowances
- Seam allowance: ¼ inch for most seams
- Flap dart line: 1¼ inches from top edge
- Snap placement:
- Female snap: 1 inch down from top finished edge of side pocket
- Male snap: Centered, ½ inch up from flap curved edge
- Handle placement:
- Mark 1 inch down from top raw edge and 1 inch in from sides
- Stitch handles 3½ inches down from top raw edge
- Handle finishing: Fold raw edge up ½ inch, then again to 1 inch, and topstitch
Instructions for Making the Oslo Craft Bag Pattern:
1. Prepare the Lining and Divider

Start by sewing the lining pockets right sides together along the longer edge with a ¼-inch seam allowance. Press the seam open and topstitch using a 3mm stitch length for strength.
Align the pocket at the bottom of a lining panel, matching raw edges. Baste the sides and bottom using an ⅛-inch seam.
For the interior divider, sew the two divider pieces right sides together. Press the seam open, align it with the lining, and sew both sides, stopping ½ inch from the bottom. Leave this gap open for assembly later.
2. Construct the Exterior Panels and Flaps

The exterior panels use Y-seams to achieve a boxy shape. Sew the side panels together, stopping ½ inch from the bottom edge to leave openings for the base.
Attach the bottom panel with these unstitched portions, ensuring seams meet neatly. Press all seams open.
For the flaps, sew two flap pieces right sides together with a ¼-inch seam allowance, leaving a 4-inch opening.
Clip corners and snip curves for a smooth finish, then turn, press, and topstitch around the edges (except the opening) with a 3mm stitch.
3. Install Snaps and Make Handles
Attach the female snap half to the pocket and the male half to the flap as per the measurements. Use the anvil and hammer method for secure installation.
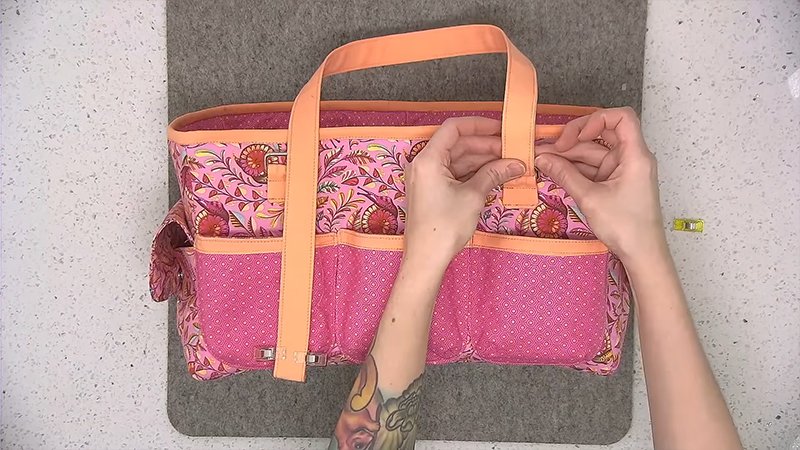
To construct the handles, use interfacing for stiffness. Turning them right side out may be tricky, use a pokey tool or hemostats to assist.
Once turned, fold the edges up ½ inch and then again to 1 inch, then stitch along the edge for a neat, strong finish.
4. Final Assembly and Binding
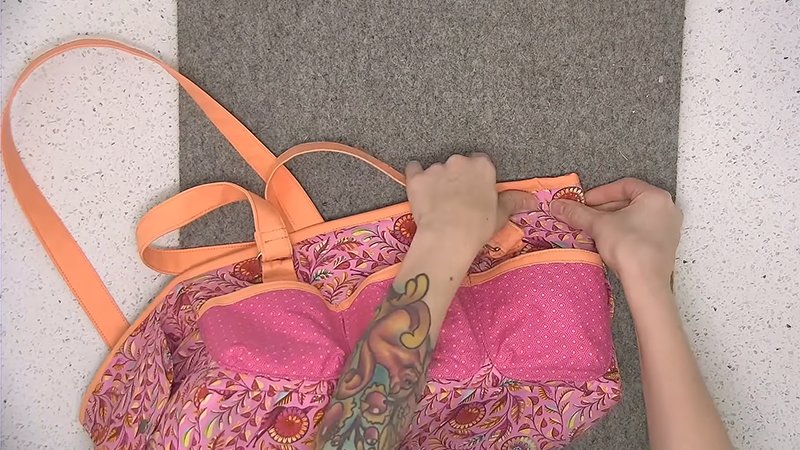
Join the exterior and lining sections by sewing the bottom panel in place, matching seams carefully.
Trim seam allowances to ¼ inch to reduce bulk. Insert the lining into the outer bag and baste the top raw edges together.
For a clean finish, attach binding around the top edge. Sew the binding strip in place, trim the seam allowance to ¼ inch, finger-press open, fold the binding over the edge, and topstitch close to the fold. Use a short stitch length (about 2mm) for a professional look.